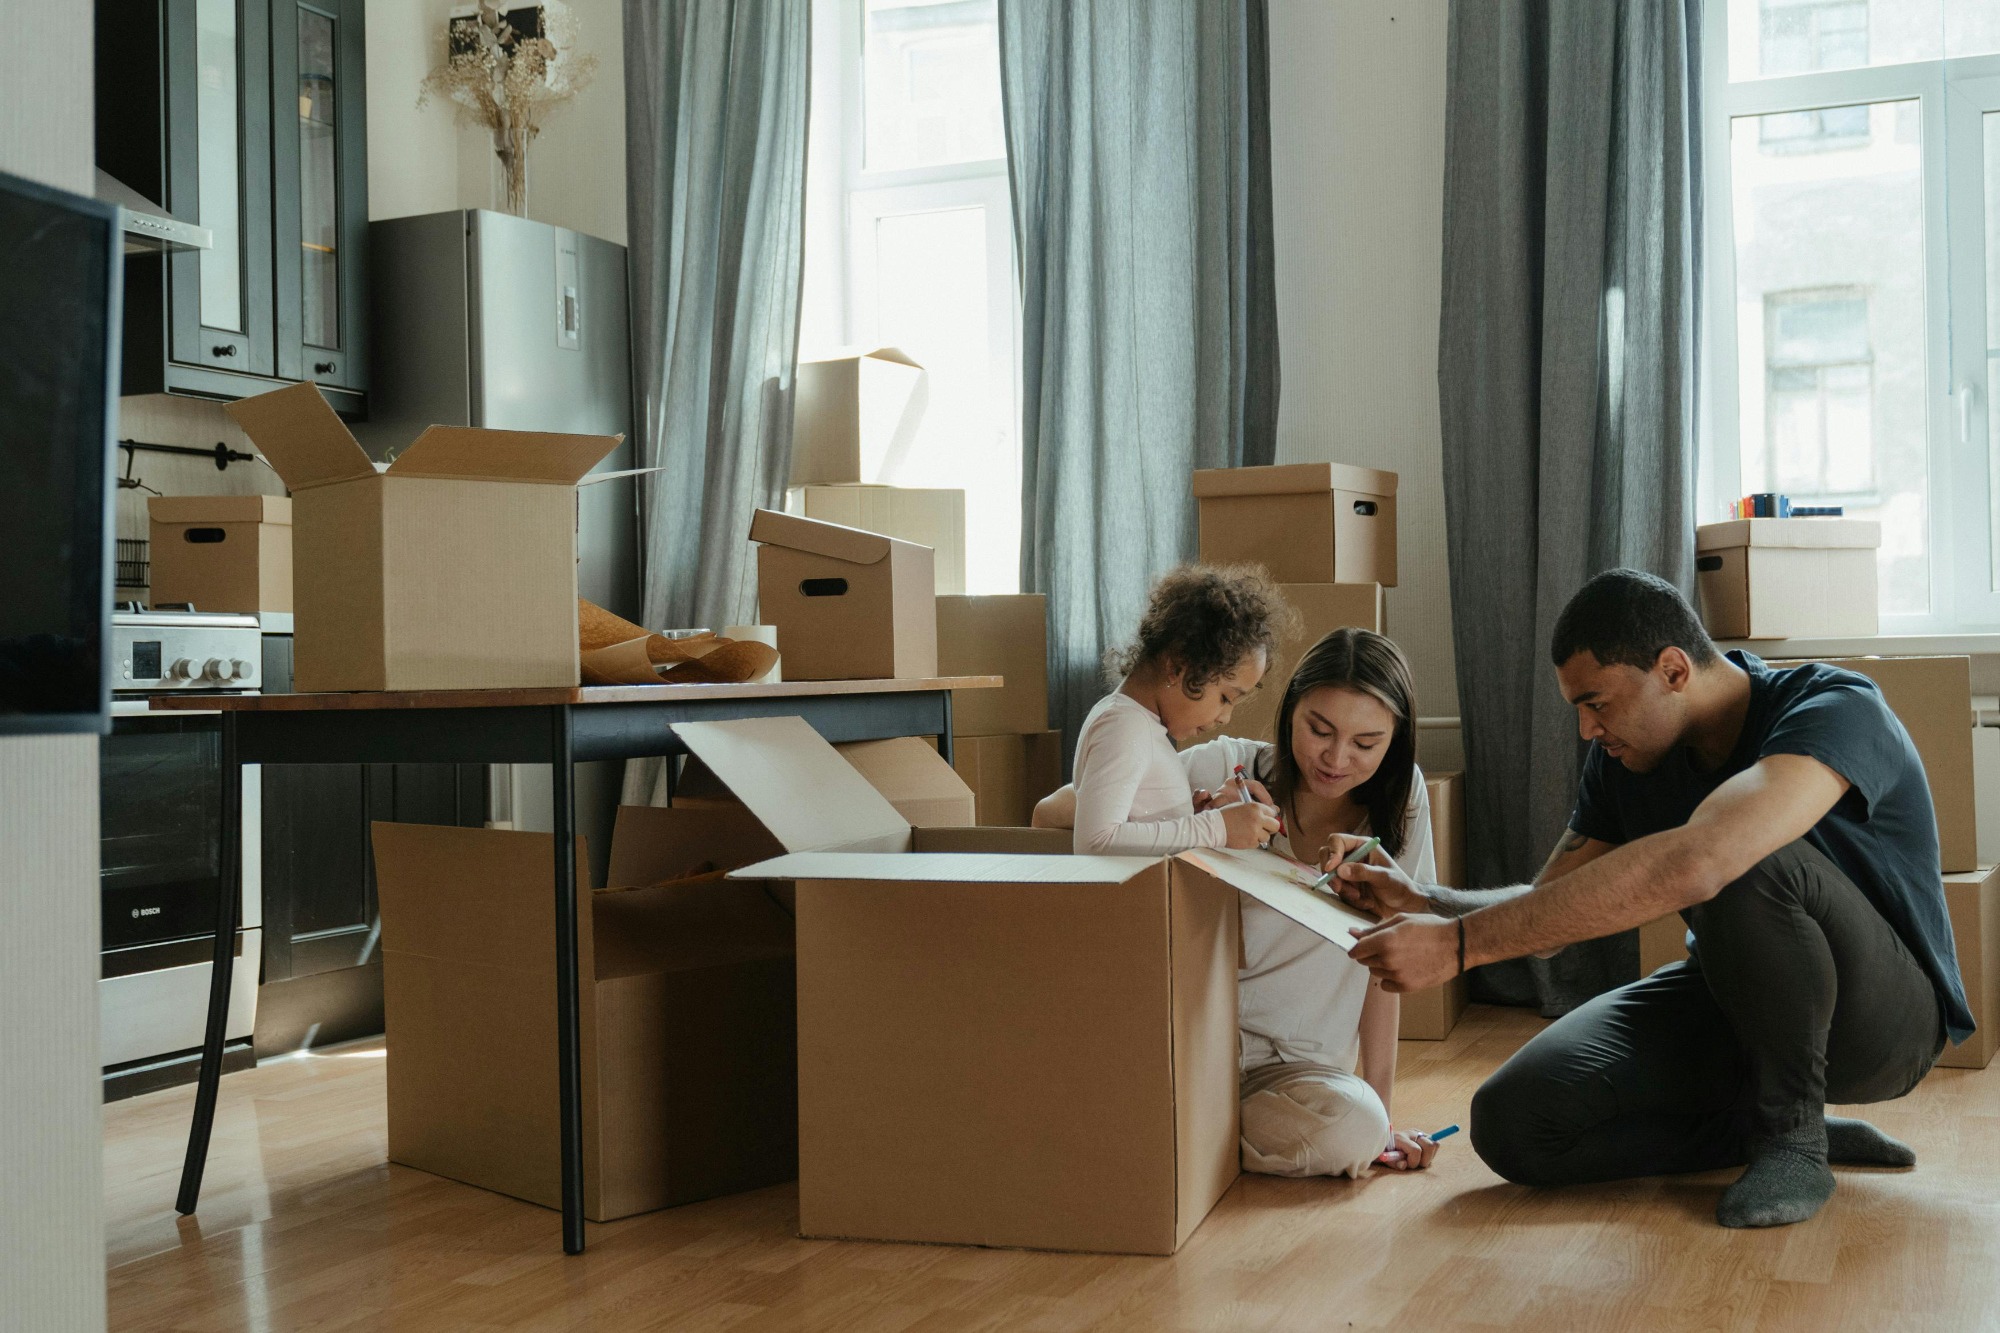
Moving into a new home is an exciting milestone, but it begins with one crucial step: a thorough move-in clean. You can’t be sure of the state the previous occupants left the space in, and hidden grime, lingering germs, and years of dust can tarnish the excitement of a fresh start. This comprehensive move in cleaning checklist is designed to eliminate that uncertainty, giving you a clear, systematic plan for a truly spotless home.
This guide provides more than just a list; it’s a strategic, room-by-room blueprint for a deep clean. We’ll break down every essential task, from sanitizing kitchen appliances and disinfecting bathrooms to cleaning overlooked areas like light fixtures, closets, and baseboards. You’ll get a complete list of necessary supplies, realistic time estimates for each task, and pro tips to tackle the toughest dirt effectively.
Whether you’re a new homeowner in St. George, Utah, a renter focused on securing a deposit, or an Airbnb host preparing for five-star reviews, this checklist provides actionable steps for a pristine result. It ensures your new environment is not just visually clean but also healthy and sanitized from top to bottom. For those who prefer to skip the work, we’ll also explain how Sun Stone Clean can handle this entire process for you, delivering a move-in ready home without you lifting a finger. Let’s transform your new house into a spotless sanctuary.
1. Deep Clean Kitchen Appliances
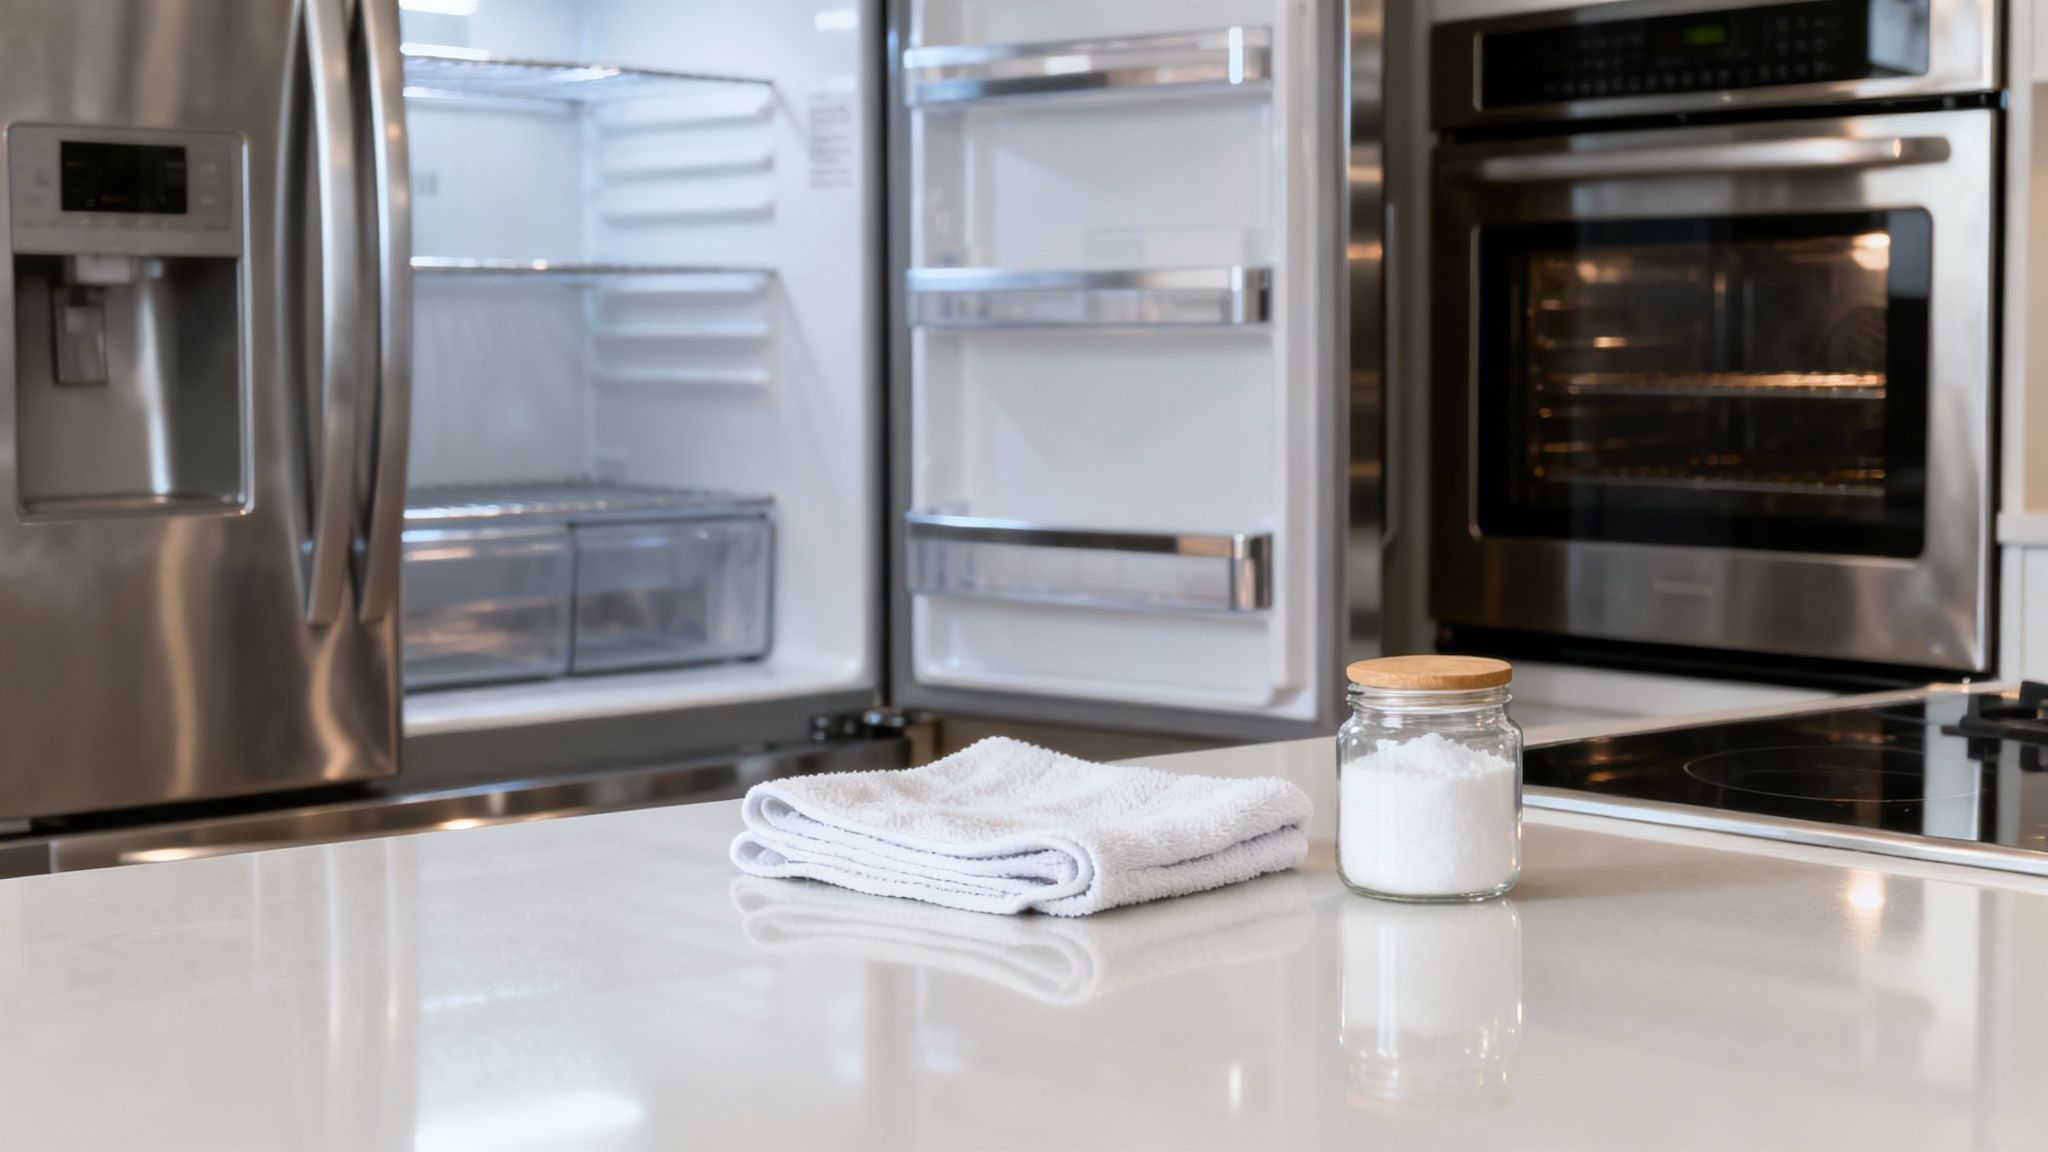
The first and most crucial task on any comprehensive move-in cleaning checklist is to thoroughly deep clean all kitchen appliances. Previous occupants inevitably leave behind a hidden world of grease, food residue, and bacteria. Tackling the refrigerator, oven, stovetop, microwave, and dishwasher before you unpack a single plate ensures your food is stored and prepared in a truly clean, sanitary environment from day one. This isn’t just a surface wipe-down; it’s a detailed scrub that sets the standard for your new home’s hygiene.
This step is critical for food safety and appliance longevity. For example, many apartment complexes require documented proof of appliance cleaning before returning a security deposit, highlighting its importance. Professional cleaners often use specialized enzyme-based degreasers to break down tough, baked-on grease in ovens that standard household products can’t handle.
Actionable Tips for Appliance Deep Cleaning
- Refrigerator & Freezer: Remove all drawers and shelves. Wash them in warm, soapy water and allow them to dry completely. Wipe the interior with a solution of warm water and vinegar. Don’t forget to vacuum the dust from the condenser coils at the back or bottom of the unit to improve efficiency.
- Oven & Stovetop: Remove oven racks and soak them in a tub with hot water and baking soda. For the interior, create a paste of baking soda and water, apply it, and let it sit for several hours before wiping clean. Clean burner grates and drip pans separately.
- Microwave: To loosen grime, heat a bowl of water with lemon slices for two minutes. The steam will make the interior easy to wipe down.
- Dishwasher: Run an empty cycle with a cup of white vinegar on the top rack to descale and sanitize the interior.
This initial deep clean is a non-negotiable part of preparing your new kitchen. If the task seems too daunting, especially with the stress of moving, a professional service can ensure it’s done right. You can explore how Sun Stone Clean handles deep cleaning kitchen appliances as part of a complete move-in service.
2. Bathroom Sanitization and Disinfection
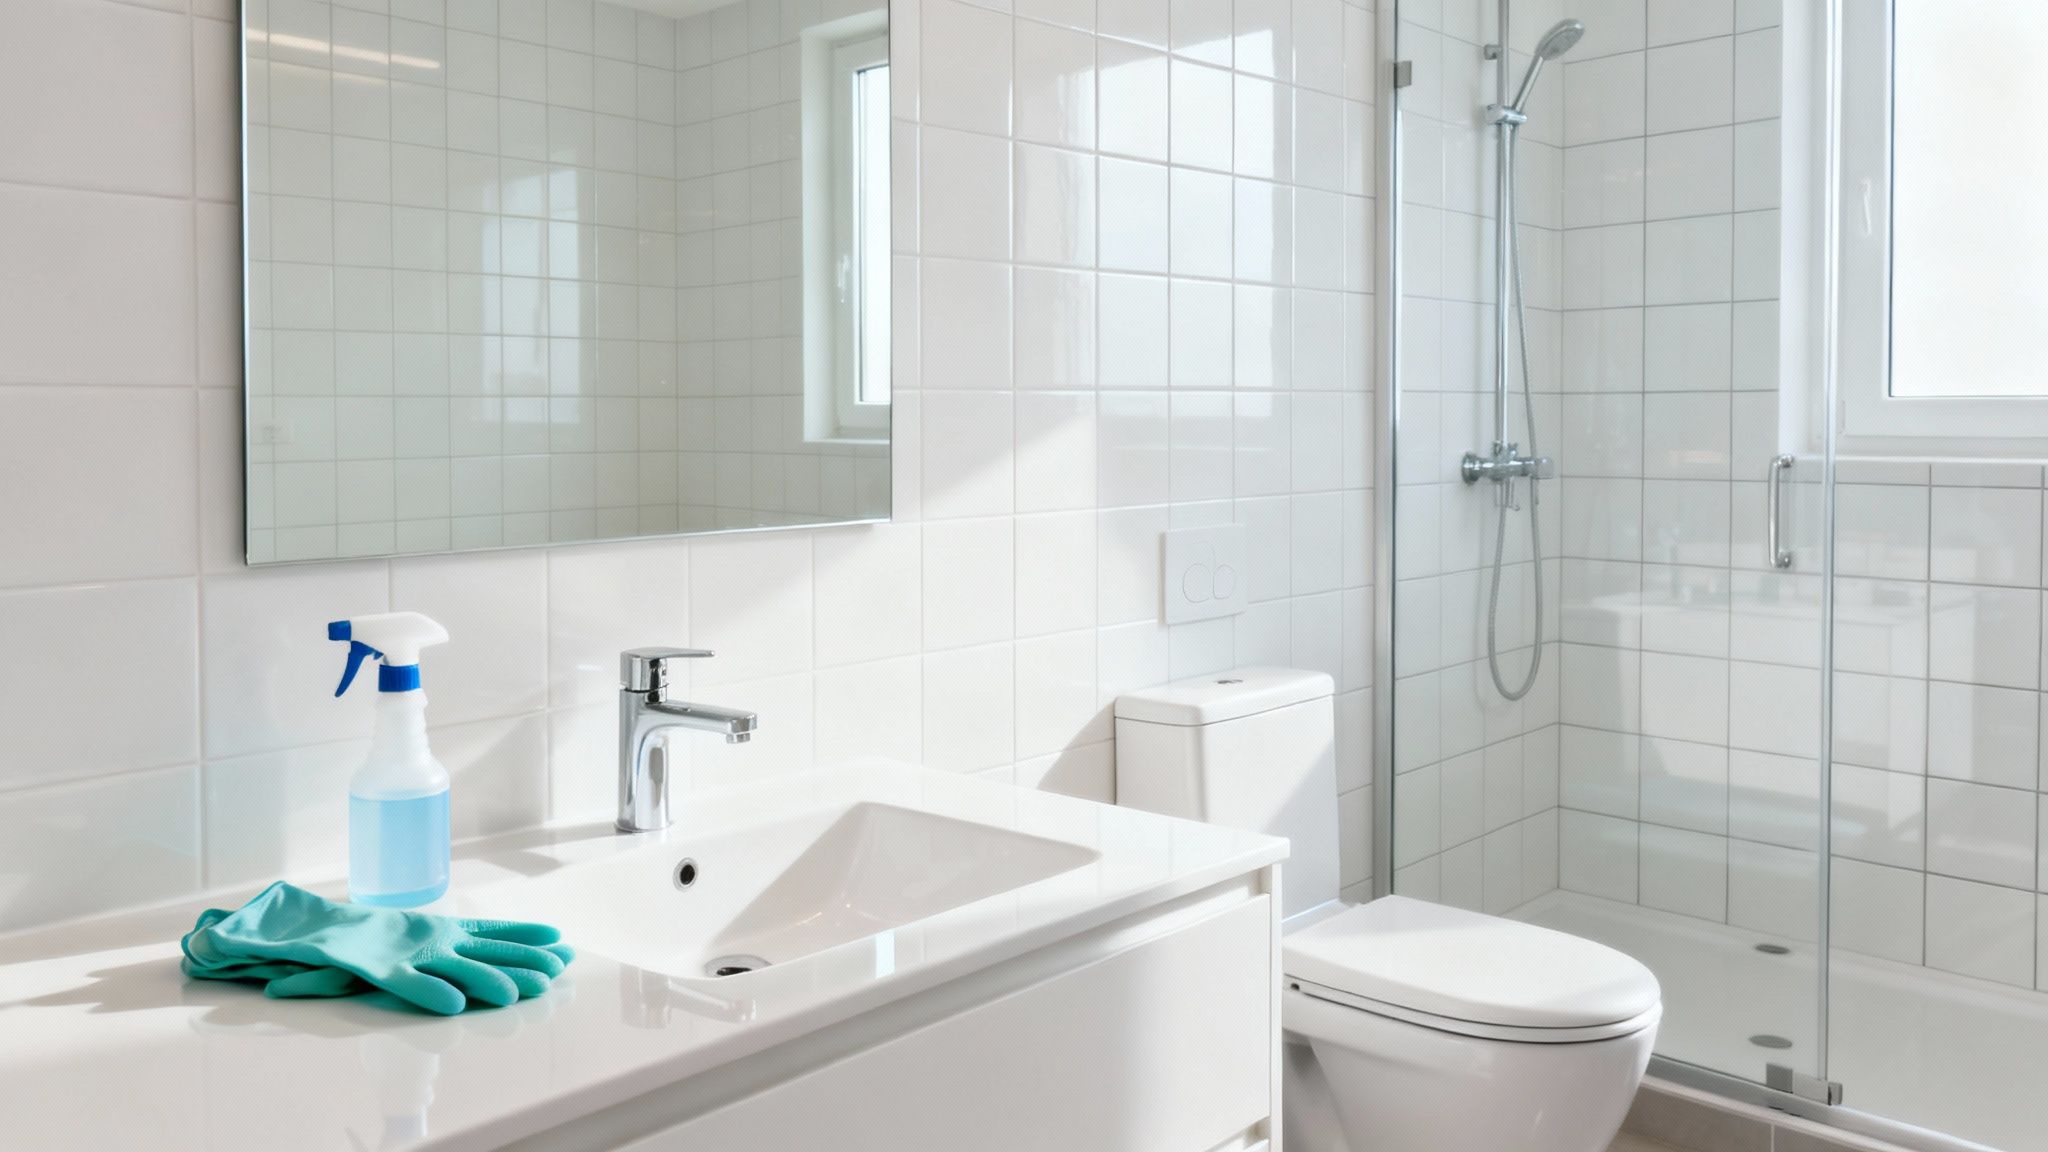
Following the kitchen, the next critical zone on your move in cleaning checklist is the complete sanitization of all bathrooms. These high-traffic, high-humidity areas are breeding grounds for germs, mold, and mildew left behind by previous residents. Thoroughly disinfecting the toilet, sink, shower, tub, and surrounding surfaces is a non-negotiable step to ensure your personal hygiene spaces are safe and sanitary from your very first day. This goes far beyond a simple wipe-down; it’s a deep, microbial-level cleaning.
This step is crucial for health, eliminating invisible threats like E. coli and staphylococcus that can linger on surfaces. Professional cleaning services, much like hotels managing room turnovers, often use hospital-grade disinfectants to achieve a truly sterile environment. For instance, some real estate companies may even recommend specialized mold treatments if any visible signs are present in the bathroom upon inspection, underscoring the importance of addressing this area properly before you settle in.
Actionable Tips for Bathroom Disinfection
- Safety First: Always wear gloves and eye protection when working with strong cleaners like bleach or disinfectants. Ensure the room is well-ventilated by opening a window or running the exhaust fan.
- Grout and Tile: To combat mildew, apply a bleach-based cleaner or a solution of one part bleach to ten parts water to grout lines. Let it sit for 10-15 minutes before scrubbing with a small brush and rinsing thoroughly.
- Toilet Deep Clean: Use a powerful toilet bowl cleaner, scrubbing thoroughly under the rim with a stiff brush. Don’t forget to disinfect the handle, seat, and the entire exterior of the toilet from top to bottom.
- Shower & Tub: First, remove soap scum buildup using a paste of baking soda and dish soap. Once rinsed, follow up with a disinfectant spray to kill any remaining germs and prevent mold growth.
Sanitizing the bathroom is a foundational task in preparing your new home. If you want to guarantee a professionally disinfected space without the hassle, consider how Sun Stone Clean’s move-in cleaning services incorporate detailed bathroom sanitization to give you complete peace of mind.
3. Dusting and Cleaning All Surfaces
After addressing high-traffic zones like the kitchen, the next essential step in your move in cleaning checklist is a comprehensive dusting of every surface. This isn’t just a quick flick with a feather duster; it’s a systematic removal of the dust, allergens, and microscopic debris left behind by previous construction or occupants. Tackling baseboards, crown molding, windowsills, ceiling fans, and light fixtures first ensures that this settled dust won’t contaminate the floors and other surfaces you’ll clean later.
This foundational task is critical for improving indoor air quality and creating a truly fresh start. For instance, real estate staging companies always perform a thorough top-to-bottom dusting before showing a property to ensure it looks and feels immaculate. Similarly, professional cleaning services often use vacuums with HEPA filters to capture fine particles that would otherwise be recirculated into the air, a practice especially important for households with allergies or young children.
Actionable Tips for Dusting and Cleaning Surfaces
- Work Top-to-Bottom: Always start with the highest surfaces, like ceiling fans, light fixtures, and the tops of window frames. This strategy ensures dust and debris fall downward onto areas you haven’t cleaned yet, preventing you from having to re-clean surfaces.
- Use the Right Tools: Swap feather dusters, which often just spread dust around, for microfiber cloths. A slightly dampened microfiber cloth is highly effective at trapping and removing dust particles rather than just displacing them.
- Don’t Forget the Details: Pay close attention to often-overlooked areas. Use a brush attachment on your vacuum to clean air vents and wipe down baseboards, switch plates, and door frames. An extendable duster is perfect for reaching high corners and ceiling fans safely.
- Protect Your Floors: After thoroughly dusting all vertical and horizontal surfaces, use a vacuum with a HEPA filter to clean up all the fallen dust from carpets and hard floors. This final step ensures the particles are completely removed from your home.
Thorough dusting is a non-negotiable step that sets the stage for all subsequent cleaning tasks. For a complete guide, you can review Sun Stone Clean’s comprehensive dusting and cleaning checklist to ensure no surface is overlooked.
4. Flooring Deep Clean (Vacuum, Mop, Strip)
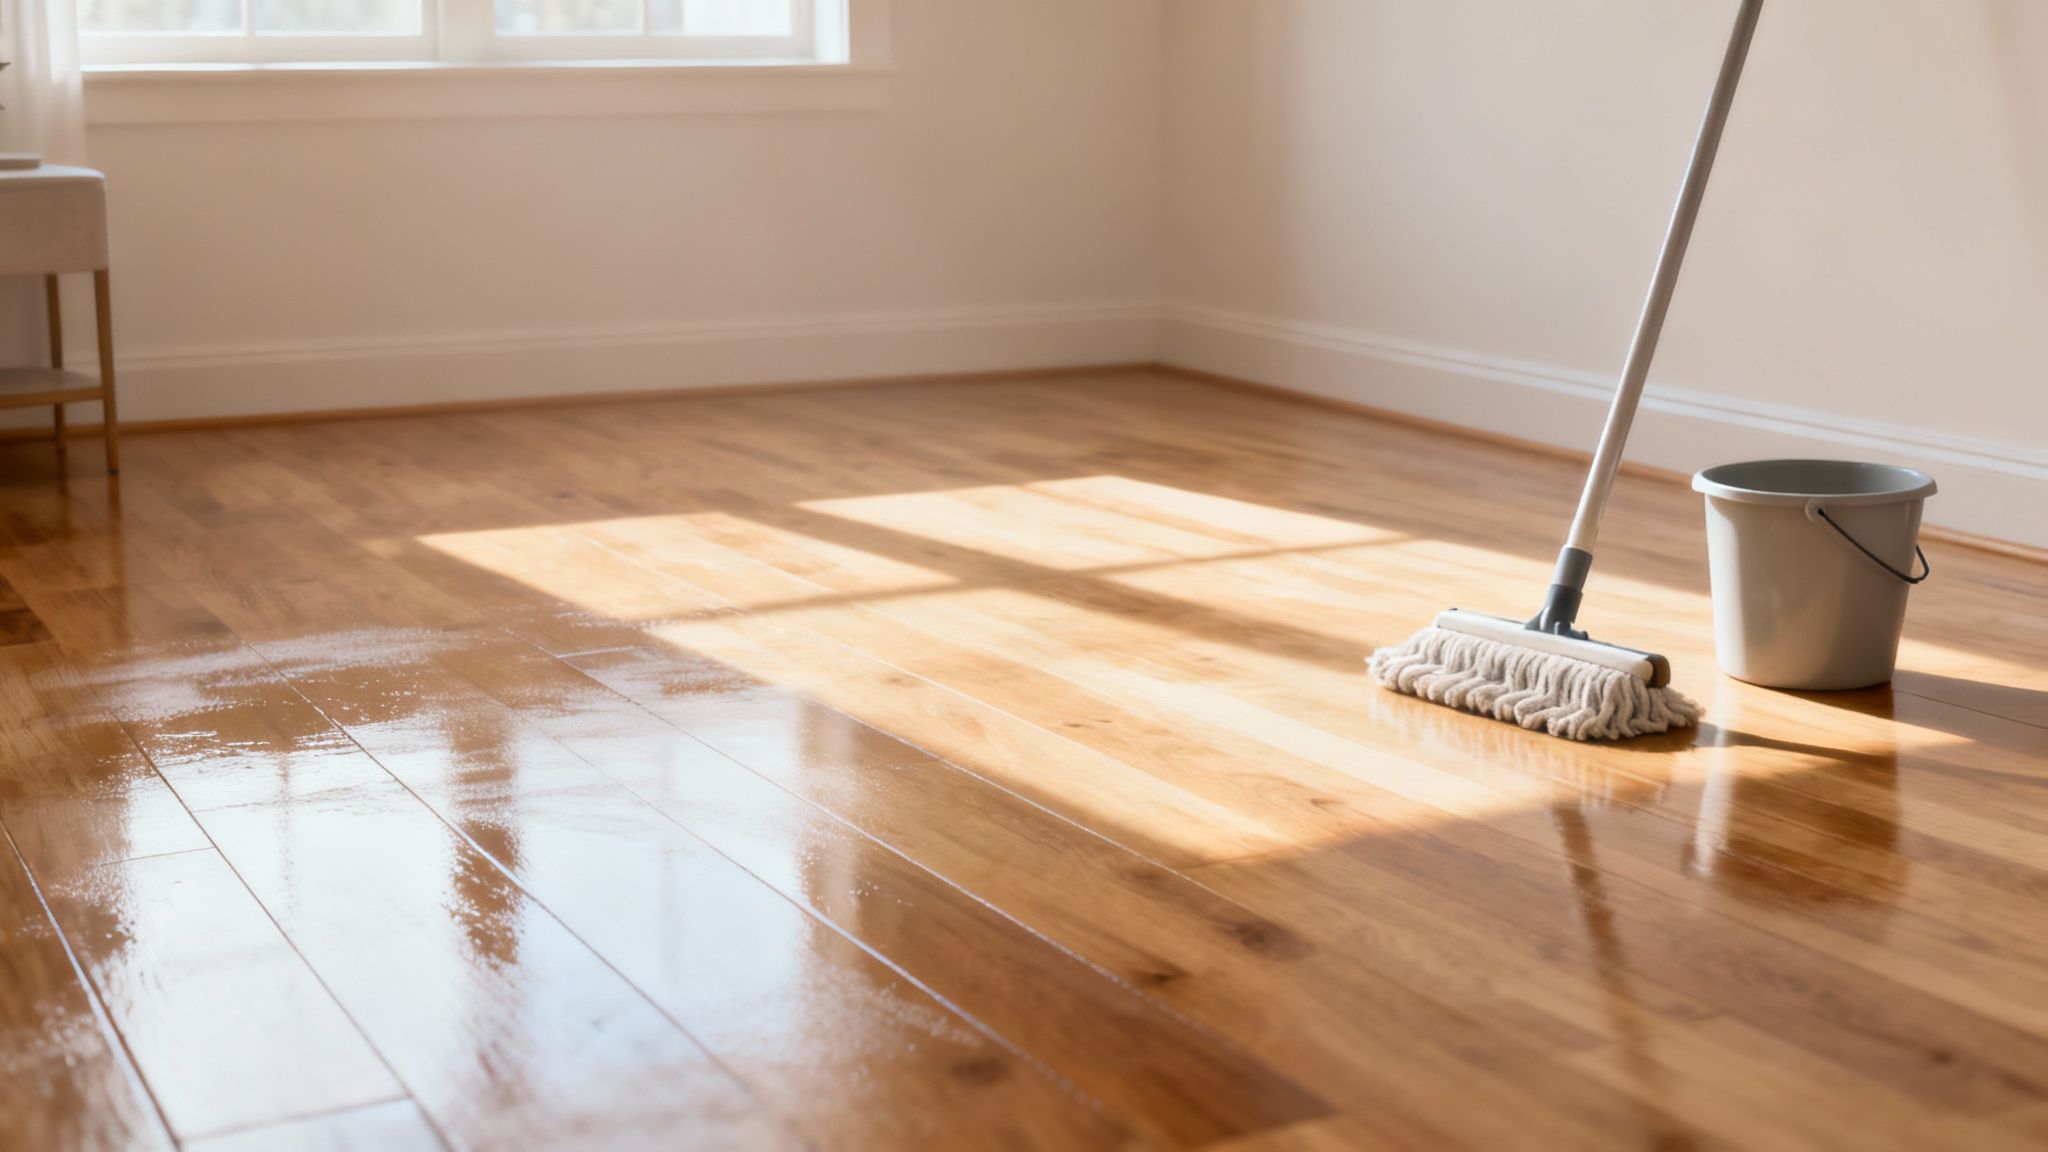
After sanitizing high-touch surfaces and appliances, the next logical step in a comprehensive move-in cleaning checklist is to address the largest surface in your home: the floors. Previous occupants have walked, spilled, and lived on these surfaces, leaving behind embedded dirt, allergens, pet dander, and biological contaminants invisible to the naked eye. A thorough flooring deep clean, customized to each floor type, is essential for resetting the home’s hygiene and dramatically improving its overall appearance and air quality before you move furniture in.
This task goes far beyond a simple pass with a vacuum. For carpets, it often means professional-grade steam cleaning or shampooing to kill bacteria and extract deep-seated grime. For hard surfaces, it can involve stripping old, yellowed wax before applying a fresh finish. Companies like Stanley Steemer and Chem-Dry built their brands on the importance of this deep-level cleaning, which removes what household equipment leaves behind and is often a requirement in rental lease agreements for deposit returns.
Actionable Tips for Deep Cleaning Floors
- Carpets: Vacuum thoroughly first, going over the area in multiple directions to lift the carpet pile and dislodge more dirt. For a true deep clean, rent or hire a hot water extraction (steam cleaning) machine, as this method sanitizes and removes allergens effectively.
- Hardwood: Mop using a microfiber mop with minimal moisture to prevent water damage or warping. Always use a pH-neutral cleaner specifically designed for wood.
- Tile & Grout: Use a stiff brush and a dedicated grout cleaner to scrub the lines between tiles, where bacteria and mold often accumulate. A steam cleaner can also be very effective here.
- Laminate & Vinyl: Mop with a cleaner approved for these materials. Avoid using wax or polish on laminate, as it can create a dull, slippery buildup.
- Test First: Always test any new cleaning solution on a small, inconspicuous area (like inside a closet) to ensure it doesn’t cause discoloration or damage.
Because flooring types vary and require specific techniques, this can be one of the most physically demanding parts of a move-in clean. To ensure it’s done correctly without damaging surfaces, you can explore Sun Stone Clean’s professional deep cleaning services that cover all floor types.
5. Window and Glass Cleaning
Often overlooked in the chaos of moving, cleaning windows, glass doors, and mirrors is a transformative step that floods your new home with natural light and creates a sense of openness. Previous residents leave behind a film of dust, fingerprints, water spots, and outdoor grime that can make even the brightest rooms feel dingy and uncared for. A thorough window and glass cleaning as part of your move-in cleaning checklist ensures a streak-free, crystal-clear view and significantly enhances the overall impression of cleanliness from the moment you step inside.
This task is crucial for both aesthetic and practical reasons. In real estate, pristine windows are a key factor in staging a property, as they make spaces appear larger and more inviting. For renters, clean windows and mirrors are frequently on the move-out inspection list, making it a good practice to address them immediately upon moving in to document their initial condition. Professional services often use specialized tools like squeegees and microfiber cloths to achieve a perfect, professional finish that is difficult to replicate with paper towels.
Actionable Tips for Window and Glass Cleaning
- Prepare the Area: Before you spray a single drop, wipe down or vacuum the window sills, frames, and tracks. This prevents dust and debris from turning into a muddy mess when you start cleaning the glass.
- Create a Streak-Free Solution: Mix equal parts distilled white vinegar and water in a spray bottle. This simple, effective solution cuts through grease and grime without leaving streaks. For stubborn hard water stains, a commercial cleaner might be necessary.
- Choose the Right Tools: Ditch the paper towels, which leave behind lint. Instead, use a high-quality squeegee for large glass panes and a clean, dry microfiber cloth for smaller surfaces like mirrors. Wiping with old newspaper is another classic, effective method.
- Pick the Right Day: Avoid cleaning windows in direct, hot sunlight. The heat can cause your cleaning solution to dry too quickly, leaving behind stubborn streaks and spots. An overcast day is ideal for this task.
Tackling every window in a new home can be time-consuming. If you want to ensure a flawless result without the hassle, a professional service can handle it efficiently. You can see how Sun Stone Clean incorporates detailed window and glass cleaning into a comprehensive move-in package.
6. Wall and Paint Spot Cleaning
After sanitizing surfaces, your attention should turn to one of the largest and most overlooked areas of any room: the walls. A crucial part of any move in cleaning checklist involves inspecting and spot-cleaning walls for the scuffs, fingerprints, and mystery marks left behind by previous occupants. This step can dramatically brighten a room and make the entire space feel fresher without the significant cost and effort of a full repaint. Tackling high-traffic zones like light switches, hallways, and door frames can instantly lift the appearance of your new home.
This task is essential because clean walls are a primary indicator of a well-maintained property for landlords and real estate agents during inspections. Property managers frequently use melamine foam erasers as a standard tool to quickly address wall marks between tenants. Addressing these imperfections before you move in your furniture is far more efficient than trying to clean around obstacles later, ensuring your new home starts with a clean slate from floor to ceiling.
Actionable Tips for Wall and Paint Spot Cleaning
- Test First: Before applying any cleaning solution or tool to a prominent area, always test it on an inconspicuous spot, like inside a closet or behind a door, to ensure it doesn’t damage the paint finish.
- Use Magic Erasers Gently: Melamine foam erasers are incredibly effective but can be abrasive. Use light pressure and a damp eraser to gently lift scuffs, as rubbing too hard can remove the paint itself.
- Tackle Specific Stains: For crayon marks, a small amount of WD-40 on a cloth can work wonders. For permanent marker, try dabbing the spot with rubbing alcohol. A paste of baking soda and water is effective for tougher grime.
- Focus on High-Traffic Areas: Pay special attention to the areas around light switches, doorknobs, thermostats, and hallway corners where hands and daily traffic leave the most visible residue.
While spot cleaning can work wonders, some walls may require a more thorough approach. If you find the task overwhelming, the team at Sun Stone Clean can expertly handle wall washing and baseboard cleaning to ensure every surface is pristine for your arrival.
7. Kitchen Cabinet and Drawer Sanitization
After deep cleaning appliances, the next logical step in a comprehensive move-in cleaning checklist is to sanitize all kitchen cabinets and drawers. These enclosed spaces are often overlooked but can harbor crumbs, dust, sticky residues, and even pests left behind by previous occupants. Wiping down the interiors and exteriors ensures that your dishes, cutlery, and pantry items will be placed in a hygienic, fresh environment from the moment you unpack. This is a critical step for both food safety and peace of mind.
This task is essential for preventing cross-contamination and eliminating lingering odors. For instance, real estate professionals often advise buyers to inspect cabinet interiors, as their condition can be an indicator of the home’s overall maintenance. Similarly, professional cleaning services prioritize this area, understanding that a sanitized cabinet is foundational to a truly clean kitchen.
Actionable Tips for Cabinet and Drawer Sanitization
- Empty and Vacuum: Before you start wiping, completely empty all cabinets and drawers. Use a vacuum with a brush attachment to remove all loose crumbs, dust, and debris from corners and crevices.
- Degrease and Sanitize: Mix a solution of warm water, a few drops of dish soap, and a splash of white vinegar. Use this to wipe down all interior and exterior surfaces, paying special attention to areas around handles where grease builds up.
- Polish the Hardware: Remove and clean the handles and knobs separately, or carefully polish them in place using a cleaner appropriate for the material (e.g., stainless steel polish, brass cleaner).
- Dry and Line: Thoroughly dry all surfaces with a clean microfiber cloth to prevent water spots or moisture damage. Once dry, consider adding fresh shelf liners before you start organizing your belongings.
- Deodorize if Necessary: If a stubborn odor remains after cleaning, place an open box of baking soda inside the cabinets and leave it for a day or two to absorb any lingering smells.
8. Light Fixtures and Switch Plate Cleaning
An often-overlooked but essential task on your move in cleaning checklist is to thoroughly clean all light fixtures, ceiling fans, and switch plates. These surfaces are magnets for dust, fingerprints, airborne grease, and even dead insects. Addressing them before you settle in improves the quality and brightness of your lighting, removes unseen germs from high-touch areas, and contributes to better overall air quality. A clean, bright light fixture can instantly make a room feel cleaner and more welcoming.
This step is a detail that separates a good cleaning job from a great one. For instance, real estate stagers always ensure fixtures are sparkling because they understand that bright, clean lighting is key to a positive first impression. Similarly, medical facilities disinfect all switch plates with hospital-grade solutions to prevent the spread of pathogens, highlighting the importance of cleaning these high-contact points in any home.
Actionable Tips for Fixtures and Switches
- Safety First: Always turn off the power at the circuit breaker before cleaning any light fixture or ceiling fan. This eliminates the risk of electrical shock.
- Wipe, Don’t Spray: To prevent water from getting into electrical components, lightly dampen a microfiber cloth with your cleaning solution instead of spraying the fixture directly.
- Disinfect High-Touch Points: Use a disinfecting wipe or a cloth with an appropriate cleaner to thoroughly wipe down all light switches, outlet covers, and dimmer controls. These are some of the most frequently touched surfaces in any home.
- Ceiling Fans and High Fixtures: Use an extendable duster with a microfiber head to reach ceiling fan blades and high light fixtures. For a deeper clean, wipe each blade with a damp cloth to remove stuck-on dust.
- Exhaust Fans: Don’t forget bathroom and kitchen exhaust fan covers. Remove them if possible and wash them in warm, soapy water to clear out dust and grease buildup, improving ventilation.
Cleaning these details is a crucial part of a comprehensive move-in clean. If reaching high fixtures or ensuring every switch is sanitized feels overwhelming, the professionals at Sun Stone Clean can handle this detailed work as part of a complete move-in cleaning service.
9. Closet and Storage Area Deep Clean
Often overlooked during a quick clean, a thorough deep clean of all closets, pantries, and storage spaces is a non-negotiable step in a move-in cleaning checklist. These enclosed areas are prime spots for collecting dust, cobwebs, debris from previous tenants, and even pests. Cleaning them before you unpack ensures your clothing, linens, and food are stored in a sanitary environment from the start, preventing the transfer of dirt and allergens to your personal belongings.
This task is essential for both hygiene and property maintenance. Real estate stagers emphasize that clean, fresh-smelling closets create an impression of a well-maintained home. Similarly, property managers often check closets during move-out inspections, looking for cleanliness and any signs of moisture or pest issues that could have been missed. A deep clean now helps you start with a clean slate and makes it easier to spot potential problems early on.
Actionable Tips for Closet and Storage Area Cleaning
- Inspect and Illuminate: Start by emptying the space completely. Use a bright flashlight to inspect every corner, shelf, and rod for dust, stains, damage, or signs of pests like droppings or webs.
- Top-Down Wiping: Wipe down all surfaces, starting with the highest shelf and working your way down to the baseboards. Use a damp microfiber cloth with an all-purpose cleaner. For pantries, use a food-safe cleaner.
- Vacuum with Precision: Use a vacuum with a crevice tool to thoroughly clean all corners, edges, and tracks for sliding doors. This removes fine dust and debris that wiping might miss.
- Address Odors: Place an open box of baking soda or a small container of activated charcoal inside to absorb any lingering musty odors. Let it sit for at least 24 hours before you start storing items.
- Check for Issues: As you clean, be vigilant for any signs of water damage, mold, or pest activity. Reporting these issues to your landlord or a professional immediately is crucial.
Cleaning these hidden spaces is a key part of making your new house feel truly like your own. If you want to ensure every nook and cranny is professionally sanitized, consider how Sun Stone Clean incorporates this detailed task into our comprehensive move-in cleaning services.
10. Doors, Doorframes, and Hardware Cleaning
Often overlooked, the thorough cleaning of doors, doorframes, and hardware is a high-impact task on your move in cleaning checklist. Doors are some of the most frequently touched surfaces in any home, accumulating a surprising amount of fingerprints, grime, dust, and germs. Addressing every handle, hinge, and frame ensures you’re not just moving into a visually clean space, but a hygienically sound one. This detailed cleaning also provides an opportunity to inspect the security and functionality of every entry point before you settle in.
This step is crucial for both hygiene and peace of mind. For example, real estate professionals always verify that all door locks are functioning correctly before a property showing, a practice homeowners should adopt for their own security. Similarly, the meticulous attention paid to sanitizing high-touch surfaces like door hardware in medical facilities highlights its importance in preventing germ transmission.
Actionable Tips for Door and Hardware Cleaning
- Clean the Surface: Wipe down the entire door, including the top edge where dust settles, with a cleaner appropriate for the material (e.g., wood cleaner, all-purpose spray for painted doors). Pay close attention to the area around the handle.
- Sanitize All Hardware: Use a hospital-grade disinfectant wipe or spray on all doorknobs, handles, locks, and even hinges. This is where germs from countless hands have been left behind by previous occupants.
- Polish and Shine: After disinfecting, use an appropriate metal polish on brass, chrome, or stainless steel hardware to remove tarnish and restore its shine, giving the entryways a fresh, well-maintained look.
- Check and Lubricate: As you clean, test each door’s operation. Open and close it fully, check the alignment within the frame, and test the lock. Apply a silicone-based lubricant to any squeaky hinges for smooth, silent operation.
Tackling this task ensures every entry and room transition is clean and secure from day one. If you want every detail handled with professional precision, you can learn more about how Sun Stone Clean incorporates comprehensive surface sanitation into our move-in/move-out cleaning services.
Move-In Cleaning: 10-Point Comparison
| Task | Implementation complexity | Resource requirements | Expected outcomes | Ideal use cases | Key advantages |
|---|---|---|---|---|---|
| Deep Clean Kitchen Appliances | High — detailed, careful handling and possible disassembly | Degreasers, enzyme cleaners, brushes, microfiber, time, PPE | Sanitized interiors/exteriors, odor removal, extended appliance life | Move-in/out, post-rental turnover, food-safety prep | Ensures food safety, removes grease, prolongs appliances |
| Bathroom Sanitization and Disinfection | High — uses strong chemicals and thorough grout/mold treatment | Hospital-grade disinfectants, bleach alternatives, brushes, PPE, ventilation | Pathogen and mold reduction, odor elimination, sanitized surfaces | Move-in, infection-control needs, mold remediation | Eliminates health hazards and prevents mold-related issues |
| Dusting and Cleaning All Surfaces | Medium — systematic top-to-bottom approach | Microfiber cloths, extension duster, HEPA vacuum, stepladder | Reduced allergens, cleaner visible surfaces, improved air quality | Allergy-sensitive homes, staging, routine deep clean | Immediate visible cleanliness and allergy reduction |
| Flooring Deep Clean (Vacuum, Mop, Strip) | High — heavy equipment, possible stripping and long drying times | HEPA vacuum, steam cleaner, mop, floor stripper, carpet/extraction machine | Removed embedded dirt/allergens, odor reduction, refreshed floors | Move-in, pre-sale staging, heavy-traffic restoration | Most noticeable visual improvement; extends floor life |
| Window and Glass Cleaning | Medium — safe ladder use for exterior; weather dependent | Squeegee, glass cleaner/vinegar, microfiber, ladder or water-fed pole | Streak-free glass, increased natural light, polished appearance | Showings, improving light, regular maintenance | High visual impact with relatively quick results |
| Wall and Paint Spot Cleaning | Low — spot treatments, gentle technique required | Magic eraser, mild cleaners, touch-up paint, cloths | Reduced scuffs/marks, refreshed wall appearance, fewer repaints | Pre-move-in, staging, minor upkeep | Cost-effective alternative to full repainting |
| Kitchen Cabinet and Drawer Sanitization | Medium — time-consuming for many cabinets | Degreasers, disinfectant wipes, microfiber, shelf liners | Clean storage surfaces, odor removal, safe food storage | Move-in, rental turnover, kitchen prep | Ensures storage hygiene and reveals cabinet issues |
| Light Fixtures and Switch Plate Cleaning | Medium — ladder use and electrical safety precautions | Extension pole duster, microfiber, disinfectant wipes, stepladder | Brighter lighting, removed dust/insects, reduced dust circulation | Staging, allergy reduction, routine maintenance | Improves light quality and reduces pathogen spread |
| Closet and Storage Area Deep Clean | Medium — confined spaces and detailed inspection | Flashlight, vacuum, microfiber, shelf liners, odor eliminators | Deodorized storage, pest/moisture detection, organized spaces | Move-in, storage prep, pest prevention inspections | Protects stored items and identifies hidden issues early |
| Doors, Doorframes, and Hardware Cleaning | Low–Medium — attention to finishes and lock function | Disinfectant wipes, metal polish, lubricant, microfiber | Sanitized high-touch points, improved hardware function | Security checks, hygiene-focused cleanings, staging | Improves hygiene at entry points and verifies operation |
From Checklist to Clean: Your Next Steps for a Pristine Home
You’ve made it through the ultimate move in cleaning checklist, and now you are equipped with the knowledge to transform any new house into a truly pristine home. Moving is a fresh start, and the effort you put into this initial deep clean lays the foundation for a healthy, comfortable, and organized living space. This isn’t just about wiping down counters; it’s about reclaiming a space and making it unequivocally yours.
By methodically working through each room, from sanitizing kitchen appliances to deep cleaning floors and scrubbing bathroom grout, you are taking control of your environment. You’re eliminating the remnants of previous occupants and ensuring that every surface your family touches is sanitary and safe. This detailed approach, prioritizing tasks from top to bottom and inside to out, is the secret to an efficient and effective clean that stands up to professional standards.
Key Takeaways for a Flawless Move-In Clean
Remember the core principles that elevate a simple wipe-down to a professional-grade deep clean. These are the non-negotiable pillars of a successful move-in cleaning project:
- Systematic Approach: Always clean from top to bottom. Start with light fixtures, ceiling fans, and the tops of cabinets before moving to countertops and, finally, floors. This ensures you aren’t re-soiling areas you’ve already cleaned.
- The “Forgotten” Spots: Pay special attention to the often-missed details. This includes switch plates, door frames, inside cabinets and drawers, and the baseboards that frame every room. These small touches make a significant difference in the overall feel of cleanliness.
- Sanitize, Don’t Just Clean: For kitchens and bathrooms, disinfection is crucial. Use appropriate, EPA-approved disinfectants on high-touch surfaces like faucets, handles, toilets, and countertops to eliminate lingering germs and bacteria.
- Empty is Best: The most effective time to execute this checklist is before a single box is brought inside. An empty home provides unobstructed access to every corner, surface, and floor, making the entire process faster and far more thorough.
The True Value of a Professional-Grade Clean
Embarking on this cleaning journey yourself can be incredibly rewarding. It provides an intimate familiarity with your new home, allowing you to notice every detail and imperfection. More importantly, it offers absolute peace of mind, knowing that you’ve personally ensured the health and safety of your new environment for yourself and your loved ones. For Airbnb hosts and realtors, mastering this process guarantees you can present a property in its best possible light, directly impacting guest satisfaction, reviews, and sale prices.
However, the reality of moving is that time and energy are finite, precious resources. Between packing, coordinating logistics, and unpacking, the exhaustive demands of a deep clean can be the final straw that turns an exciting transition into a stressful ordeal. The physical labor is intense, and sourcing the correct supplies and equipment adds another layer of complexity.
This is where you must weigh the value of your time against the cost of convenience and expertise. Executing this comprehensive move in cleaning checklist to a high standard can take anywhere from 8 to 20 hours for a standard-sized home. Is that time better spent on setting up your new life, or on your hands and knees scrubbing floors? For many, the answer is clear. Stepping into a professionally cleaned home allows you to focus immediately on the joy of settling in, not the labor of scrubbing out.
Ready to skip the stress and step directly into a sparkling clean home? The team at Sun Stone Clean uses a meticulous checklist just like this one to ensure a flawless move-in experience in St. George and beyond. Let our insured and bonded professionals handle the dirty work, so you can focus on making your new house a home from the moment you get the keys. Get your free quote and book your move-in cleaning in 60 seconds at Sun Stone Clean.
Stay Updated
We will send you info about our business